Creating a Custom Egg
Learn how to create custom eggs for your Pterodactyl Panel
Do not modify the default Nests or Eggs provided by the Panel. Each Pterodactyl update may alter these defaults and override your changes.
Before creating a custom Egg, it's important to understand Pterodactyl's structure:
Nests are collections of eggs (like categories for related server types), and Eggs are the specific configurations for installing and running a particular game or software.
Creating a New Nest (Category)
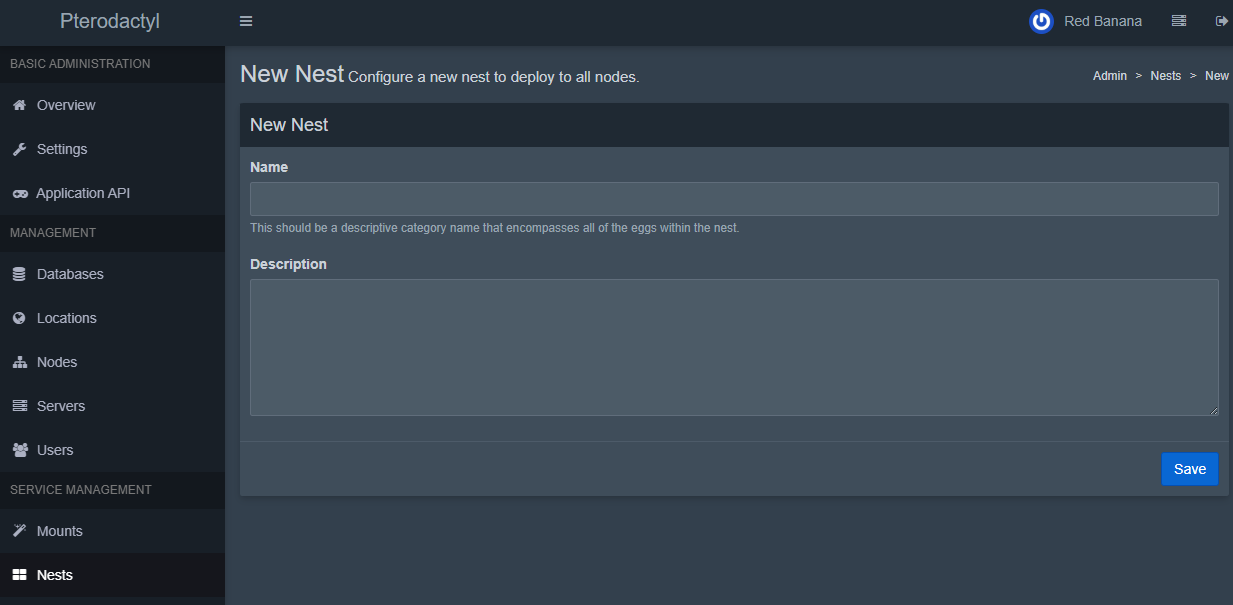
If your egg doesn't fit into an existing Nest, you should create a new Nest for it. The Nests page can be found in the Admin Dashboard (in the left sidebar, near the bottom).
Click the "Create New" button on the Nests page to create a new Nest. You will need to provide:
-
Name: A descriptive name for the category (for example, "Custom Games" or "Minecraft Mods").
-
Description: (Optional) Details about what eggs in this nest are for.
Once these are filled, save the new Nest.
If you have a pre-made Egg JSON file (for example, from the community), you can import it instead of creating one from scratch. Use the "Import Egg" button on the Nests page, select the target Nest, and upload the egg's JSON file. Check out the Community Egg Repository for a large selection of ready-to-use community eggs.
Creating a New Egg
After you have a Nest, you can create a new Egg within that nest. To do this, navigate to the nest's detail page, then click the "New Egg" button at the bottom of the page.
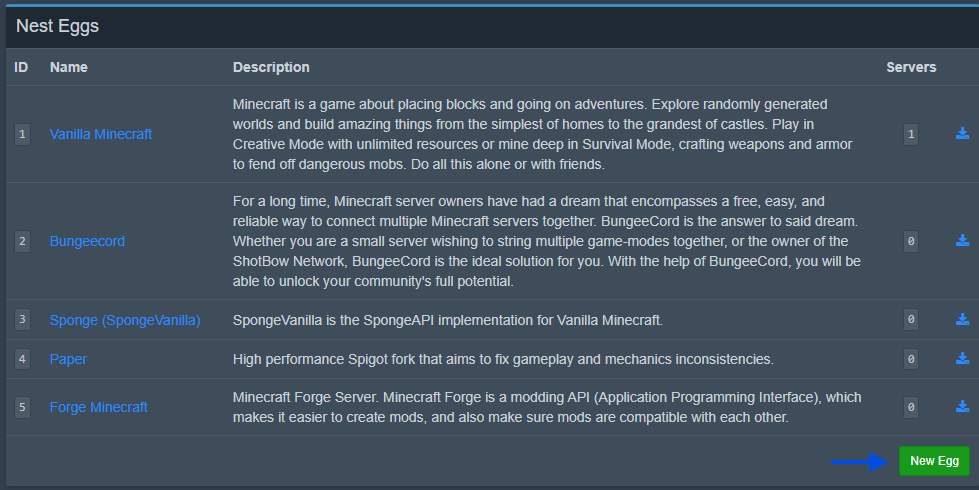
This opens the egg configuration form (the "New Egg" page). If not already selected, choose the appropriate Nest from the Associated Nest dropdown at the top of the form.
Now fill out the details for your new Egg:
Basic Details
-
Name: The name of the Egg (e.g. "MyGame Dedicated Server"). This is how the egg will be listed in the panel.
-
Description: A short description of what this egg is or does.
Docker Images
Here you select the Docker image(s) that the server will run in. Docker images define the environment (OS and software) available to your server. Pterodactyl provides a variety of Official images (called "yolks") for many common use-cases, or you can specify a custom image. See the Egg Docker Images page for more details on available images.
Make sure the Docker image contains all the required runtime dependencies for your server. Any package installed only in the install script will not be present when the server is running. Also, the image must include a user named container with home directory /home/container (this is required by Pterodactyl for all images).
After filling in the basic details, you'll want to configure the remaining parts of your egg:
- Configuration Files & Startup Detection — process management, stop commands, config file parsing, and startup detection
- Egg Variables — define custom and default variables
- Egg Install Script — write the install script that sets up server files
- Creating a Custom Docker Image — build your own image if the official ones don't fit your needs
Last updated on